Most people unbox a chair, spin the gas lift until it feels about right, and call it a gaming chair setup. Then hour five arrives, the lower back starts screaming, and the chair gets blamed for something the setup did.
I've spent ten years sitting in these things. First as a competitive FPS player running ten-hour practice days, now as a coach who watches eight-hour scrim blocks from behind the players. I have owned the chair that collapsed mid-match. I have owned the one that felt fine for a month and then put me in a physical therapist's office at 24 with a disc that was not happy. Both of those chairs looked great in photos.
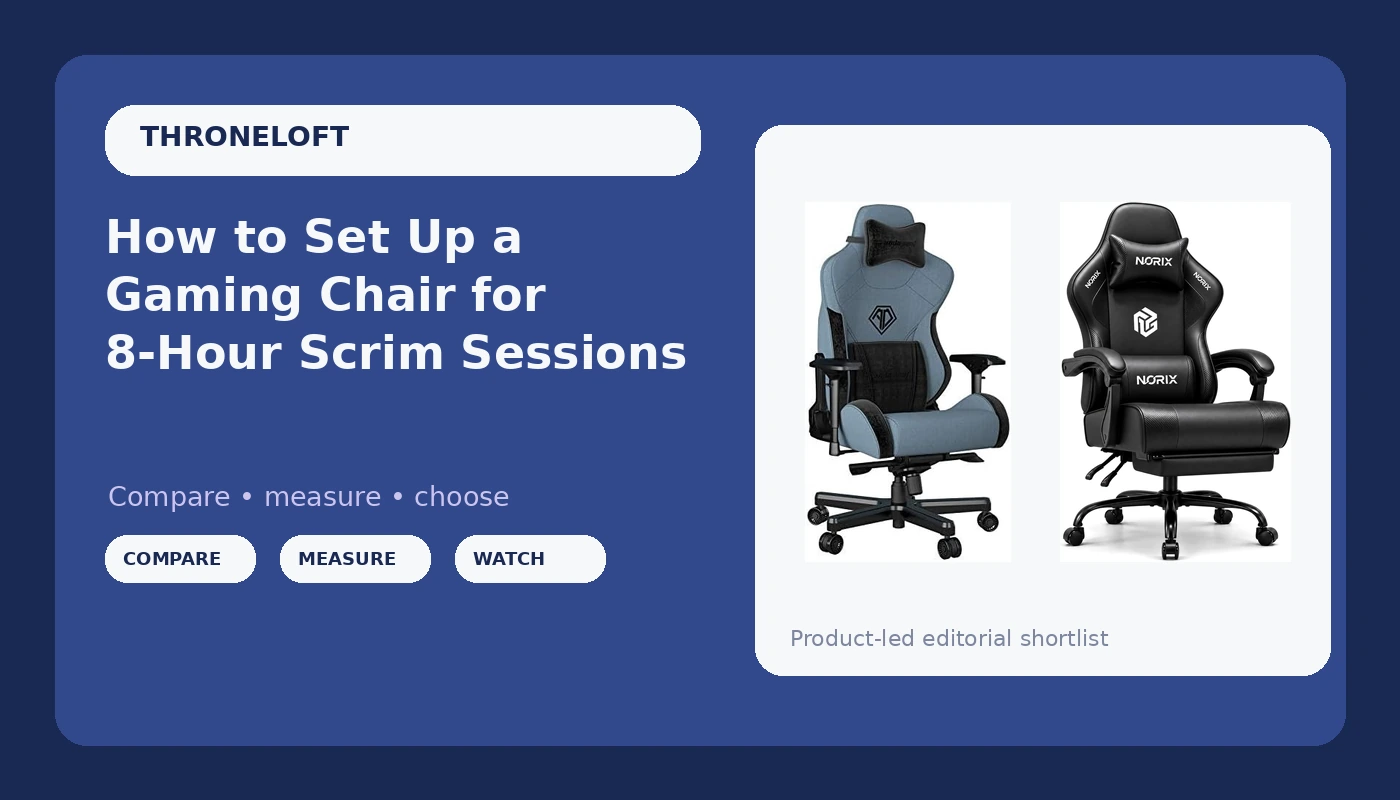
The two chairs below sit at two different budgets, and neither one is a bucket seat pretending to be furniture. But the chair is only half of it. The other half is the 20 minutes you spend adjusting it, and that part is free.
Why you should trust me
I coach full time in Los Angeles, and part of the job is posture. Not because I'm precious about it, but because I've watched a back injury end a career at 24, and it was mine. Ten years of practice days taught me what a chair has to do at hour six, and it is almost never what the box art promises.
The rules I work by: lumbar support has to be adjustable or movable, because a fixed bump is decoration. The tilt has to lock at a specific angle, because a chair that only rocks is a chair you fight all day. Armrests have to move in more than two directions, because shoulder tension shows up in your aim before it shows up in your back. And breathable fabric beats leather for anyone who plays more than two hours, especially in July in a room with no window.
What I checked before I put these two here
Two things up front, because I'd rather you trust the boring version of this than a story.
First, these are the two chairs I'd start a player on at their respective budgets, based on what the product information actually specifies and on the criteria above. I have not run an eight-hour scrim in either specific unit, and I'm not going to pretend I have. Second, every claim below comes from the manufacturer's own product information. Anything the listing doesn't state, I'm telling you to verify yourself, and I'll tell you exactly where to look.
Here's the checklist I ran both of them against:
- Lumbar support that adjusts or moves, not a fixed bump
- Armrests that travel in more than one direction
- A recline you can lock, not only rock
- A seat sized to your actual body, which is a measurement, not a vibe
- A base and gas lift that don't flex when you lean back
The two chairs worth starting with
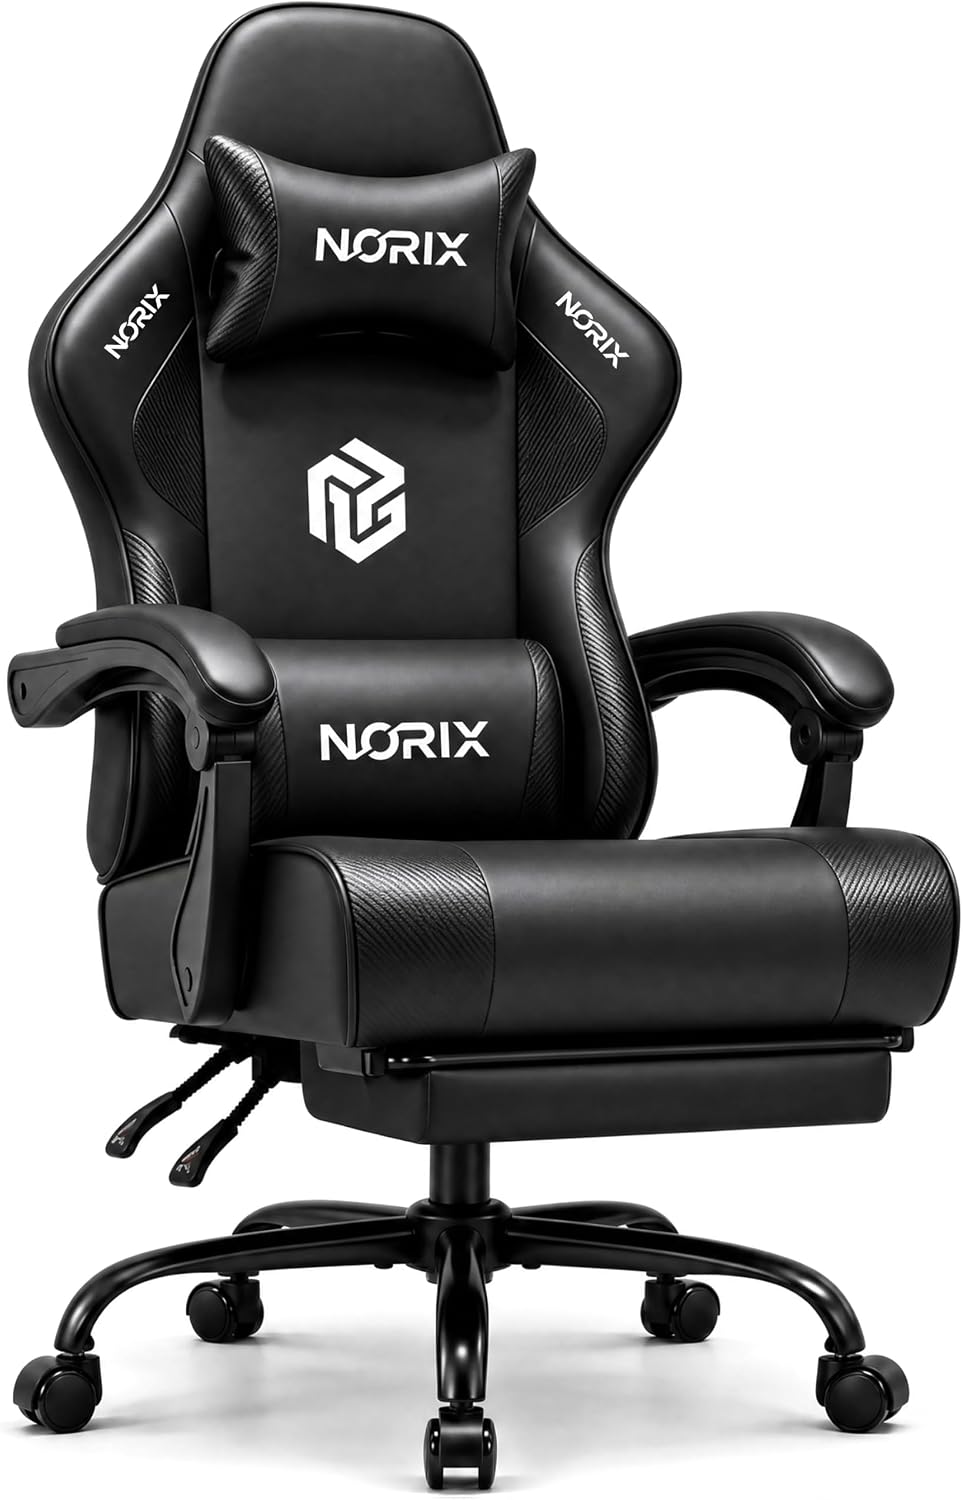
Budget pick: Gaming Chair for Adults Gamer Game Chair PC Chair Upgraded Gaming Chair
 Visit on Amazon →
This is the entry point, and the entry point is where most players start. It's sold as an adults gaming chair and PC chair with an upgraded build, and at this tier the question is never "is it luxurious." The question is whether the parts you actually adjust are present. Check current Amazon price.
Three things to confirm on the listing before you commit, because this is the tier where spec sheets get vague: whether the lumbar piece moves up and down or is sewn in place, whether the armrests travel in more than one direction, and whether the recline locks. If a listing can't answer all three, that's your answer.
Flaws but not dealbreakers: At this price tier across the category, the gas lift and the base are usually where cost gets trimmed. That's not a reason to skip the chair. It's a reason to sit in it before you buy if you can, and to check the base for flex on day one while returns are still easy.
Who it's for: a first real chair, a dorm room, a player moving off a kitchen chair. Do the fit check below before you order, because the one thing a budget chair can't do is grow with you.
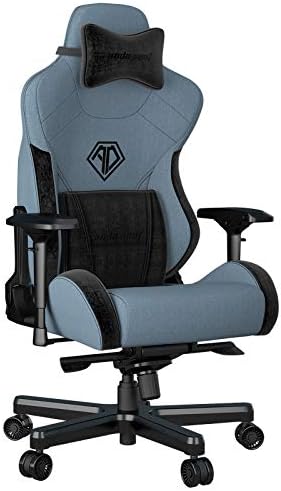
Upgrade pick: anda seat Fabric Gaming Chair, T PRO 2 Ergonomic Office Game Chairs,XL Swivel Recliner Chair with 4D Adjustable PU Armrest,160°Recliner Rocker Video Chair with Pillow Headrest Lumbar for Home(Blue
 Visit on Amazon →
This is the chair I'd point a serious player at, and the fabric cover is the first reason. Fabric breathes. If you play more than two hours a night in a room that gets warm, that alone changes what hour four feels like. Check current Amazon price.
The product information is specific in the ways that matter: 4D adjustable PU armrests, which means up, down, in, out, angle, and slide, so you can get them under your forearms instead of fighting them. A 160 degree recline with a rocker function. A headrest pillow and a lumbar pillow. An XL swivel seat.
The two pillows are the part to think about. A movable lumbar pillow is genuinely better than a fixed bump, because you can put it where your lower back actually curves instead of where a mold was made. It is still not the same as a built-in adjustable lumbar mechanism, so if that's your priority, this is a compromise, and I'd rather you know it going in.
Flaws but not dealbreakers: The XL seat is a feature if you're tall and a problem if you're not. A seat that's too deep for your leg length pushes the front edge into the back of your knees and you end up sliding forward all day. Measure your floor-to-back-of-knee distance before you order anything described as XL.
Who it's for: taller players, players who run long sessions, and anyone who wants the gaming chair look without a bucket seat. Also anyone who has already learned that leather and a warm room are a bad combination.
The fit check you do before any adjustment
You cannot adjust your way out of a chair that's the wrong size. Do this first, with a tape measure and a wall.
- Sit on a hard chair with your feet flat and your knees bent to roughly 90 degrees. Measure from the floor to the crease behind your knee. That's the seat height range you need.
- Measure your desk height and your elbow height while seated. Your armrests need to land between those two numbers, not above them.
- Measure the widest part of your hips. Your seat should be wider than that, but not by six inches, or the armrests end up too far out and you'll round your shoulders to reach them.
- Note your height. If you're under about 5'7", an XL seat is usually the wrong call. If you're over 6'2", a standard seat runs short and you'll feel it in your upper back.
Write those four numbers down. Every adjustment below depends on them.
How to set up a gaming chair: the seven adjustments
Now the part that actually fixes your back. Do these in order, because the later ones depend on the earlier ones.
Step one: seat height. Set it so your feet are flat on the floor and your knees are bent to roughly 90 degrees, with your hips level with or a hair above your knees. If your feet dangle, you'll put pressure on the back of your thighs and you'll shift all day. If you can't get low enough for your desk, raise the desk, not the chair.
Step two: seat depth. You want two to three fingers of space between the back of your knee and the front edge of the seat. If there's less, the seat is too long for you, and no amount of lumbar adjustment will fix it. If there's more, slide a firm cushion behind your back to take up the gap.
Step three: lumbar. This is the one that matters. The support should land in the small of your back, around belt height, not up between your shoulder blades. If it's a pillow, move it until you feel your lower back supported instead of pushed. If it's a fixed bump that lands in the wrong spot, you're done with that chair.
Step four: armrests. Drop your shoulders, bend your elbows to 90 degrees, and set the armrests so they sit just under your forearms. They should not lift your shoulders and they should not leave your arms hanging. If your armrests only go up and down, set the height and accept that the rest of the adjustment isn't there.
Step five: tilt tension. Turn the tension knob until leaning back takes deliberate effort, not a nudge. If you can flop backward by breathing, the tension is too loose and you'll spend the night catching yourself.
Step six: lock the recline where you play. Most chairs let you lock the back at an angle. Lock it around 100 to 110 degrees for playing. Save the full 160 degree recline for breaks between matches, not for ranked.
Step seven: desk and monitor distance. Sit back in the chair, not on the edge of it. Your screen should be about an arm's length away with the top of it at or slightly below eye level. If you're leaning forward to read the screen, you've just undone every adjustment above.
Then the habit: stand up every 50 minutes. Set a timer. I don't care how good your chair is, sitting is the problem, and no lumbar pillow fixes 12 unbroken hours.
What to skip
Skip bucket-seat racing designs. They're car seats on a base, built to hold a body against lateral forces that don't exist at a desk, and they push your shoulders forward.
Skip fixed lumbar bumps. Skip armrests that only go up and down. Skip anything described as "racing style" with no mention of adjustability. And skip ordering blind if there's a store within driving distance where you can sit in the thing first.
What this all costs
I'm not going to quote you prices, because they move. Check current Amazon price on both, then do the math that actually matters: divide the price by the number of days you'll sit in it over two years.
If you sit four hours a night, that's roughly 2,900 hours across two years. Both of these chairs land at the low end of the market, which means the cost per hour is measured in cents. The budget pick exists to get you off a kitchen chair. The upgrade pick exists to keep you in a chair that breathes and adjusts for the length of a scrim block.
What you're actually buying with the upgrade is a fabric cover, 4D armrests, and a 160 degree recline. If none of those change your day, save the money and put it toward the thing your back will notice more: a desk at the right height.
The part nobody wants to hear
Your chair is one input. The other inputs are how long you sit, whether you get up, and whether your desk and monitor are set to your body instead of the other way around.
I've watched a player in an expensive chair wreck his back because he never left it. I've watched a player on a cheap mesh office chair stay healthy because he stood up every hour and did the fit check before he bought anything.
Buy the chair that fits the body you have, set it up in the order above, and then get out of it regularly. That's the whole job. Your back doesn't care what the chair looks like.